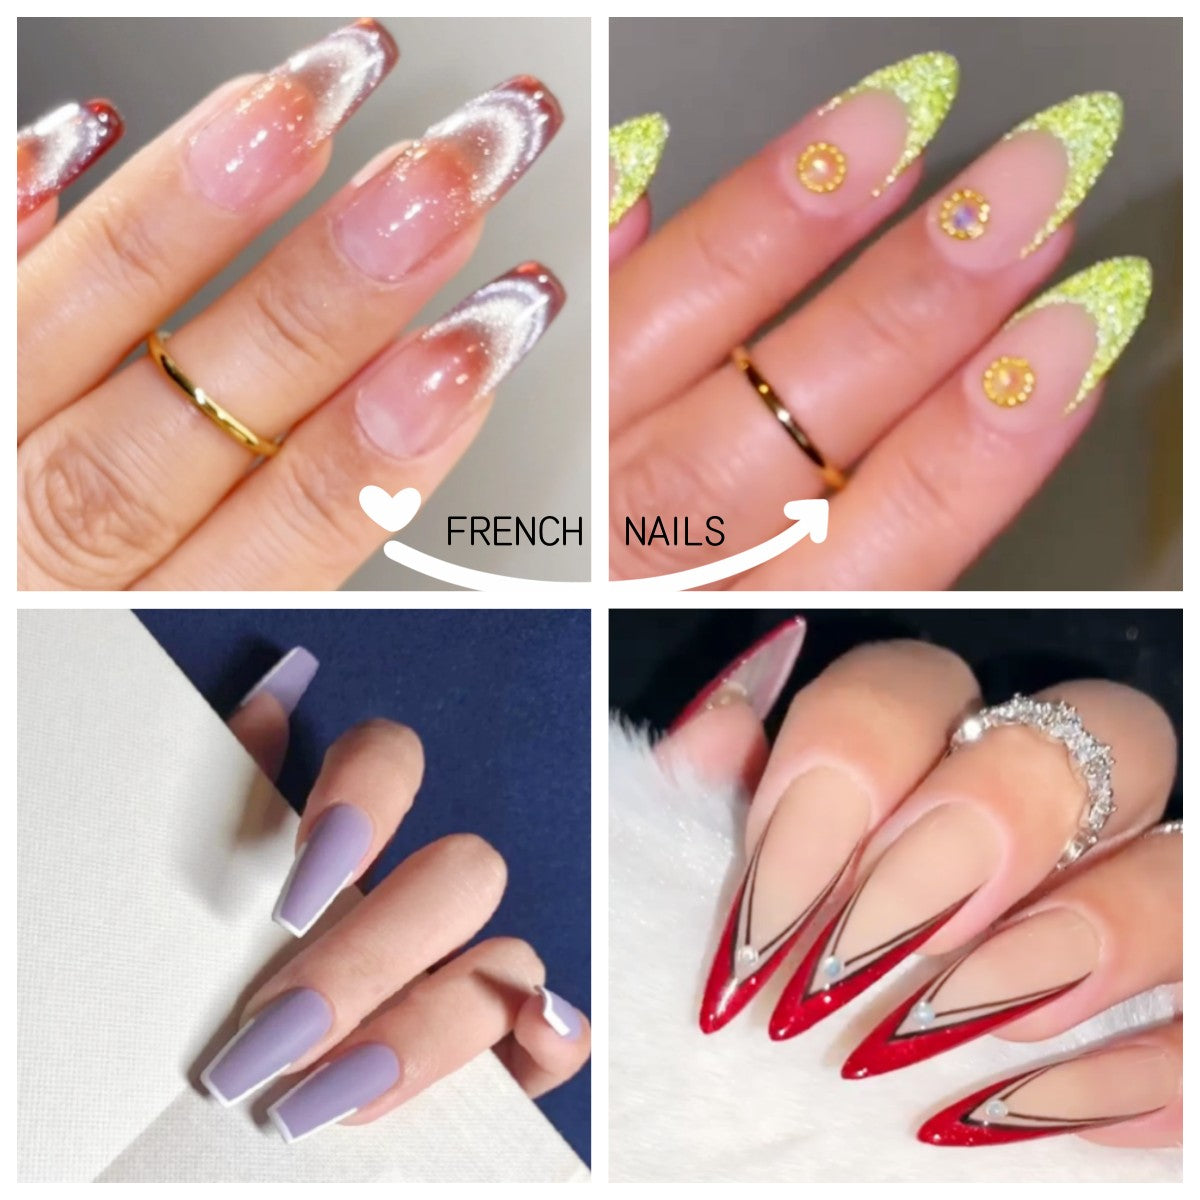
What are Acrylic Nail Extensions?
Acrylic nails are the most common nail type that almost everyone knows. Acrylic is a paste made from a mixture of monomer liquid and polymer powder. Over time, acrylic will form a hard protective layer that can be glued to your natural nails. It may sound complicated, but if you have ever used dipping powder in a salon, your understanding of all of the above is more familiar than your thinking, because it is also a form of acrylic. However, dipping powder tends to cause more damage to the nails, especially its removal needs to be more difficult and less flexible.
Acrylic extender is beneficial for women those who have fragile nails, not only because of its sturdiness can become the guardian of your nails, but also the service life of acrylic nails is longer than similar products. At the same time, you don't have to worry about its chemicals having side effects on your natural nails. In addition, acrylic resins are suitable for women who are accustomed to breaking nails because they are difficult to chew.
If you want to do acrylic nail extension yourself, please go through the steps we have prepared for you.

Step by Step for Applying Acrylic Nails
Step 1:First of all, the best nail extension for short nails starts with preparation. In order to expose the nails as much as possible to create more area for the pattern, you'd better carefully push the epidermis back, and then remove all the dead skin from the nail plate.
Step 2:Use a sandpaper block or file to gently polish the nails to increase the adhesion of the nail polish, reminding you that do not neglect to polish the sidewalls and edges to achieve a neat nail shape.
Step 3:It's time to remove all the nasty dust to ensure that the nail bed is kept clean to prevent dust from interfering with the adhesion of the acrylic resin, so this is a step you need to pay attention to.
Step 4:We need to prepare the nails with a desiccant and wait for it to evaporate.
Step 5:After completing this step, you must apply two coats of primer on the nail bed to prevent the acrylic from floating.
Step 6:After designing the sculpted tip, you need to make sure to align it carefully with the top of the nail to avoid covering the exposed skin. If you find that the skin of your fingers is preventing you from placing the designed tip shape in the desired space, you can carefully cut off the sides to make sure it fits tightly with your nails.
Step 7:Now that you have made sufficient preparations, you can start working on acrylic nails. Dip an appropriate amount of acrylic resin with a nail brush, and brush the color of your choice on the nail starting from half of the natural nail until it is formed to the desired length.
Step 8:Then take the other acrylic resin and brush it from the place where it is close to the nail skin. Carefully blend it with the previous part on each nail, making it thinner as it gets closer to the tip.
Step 9:In order to give the nails a slim shape, we tend to use clamping tools on each nail to make the nails stronger when the acrylic is almost shaped. In my opinion, it is worth taking this extra step if it has never been tried before.
Step 10:After that, you can nail polished to obtain a natural sheen after the extended portion is finalized. To begin this process, you need to remove the sculpted tip that are no longer needed. Then take your file to work on the sidewalls and edges, then go over the top to sand, and finally use the sandpaper block to smooth the nails completely.
Step 11:To clean the residue or dust on the nails, use acetone to wipe the nails, which can make the nail surface more delicate and smooth.
After all the above is done, what is exciting is that your short and bitten nails have now been transformed into strong and firm acrylic nails, and ready to be used for coloring nail polish or creative in nail art design. If you are worried that your own operation will cause the acrylic to show a fake appearance, you can go to the salon to sever you and choose a professional manicurist who can apply your acrylic in a nearly natural way. On the other hand, if you don't want to pay extra expenses, another solution is to buy acrylic fake nails directly online to achieve the nail style you want.
However, you must be aware that if the acrylic nails are not removed correctly, the underlying natural nails may be damaged. But don’t worry, most nail technicians in salons have a lot of experience in how to apply and remove these nails. It’s also a good way to search for bloggers’ acrylic nail removal tutorials online.
Check our acrylic powder set to build your nail extension now!
Poly gel nail extension is also a good choice for nail beginners. Check this post to learn how to use poly gel nail extensions.


