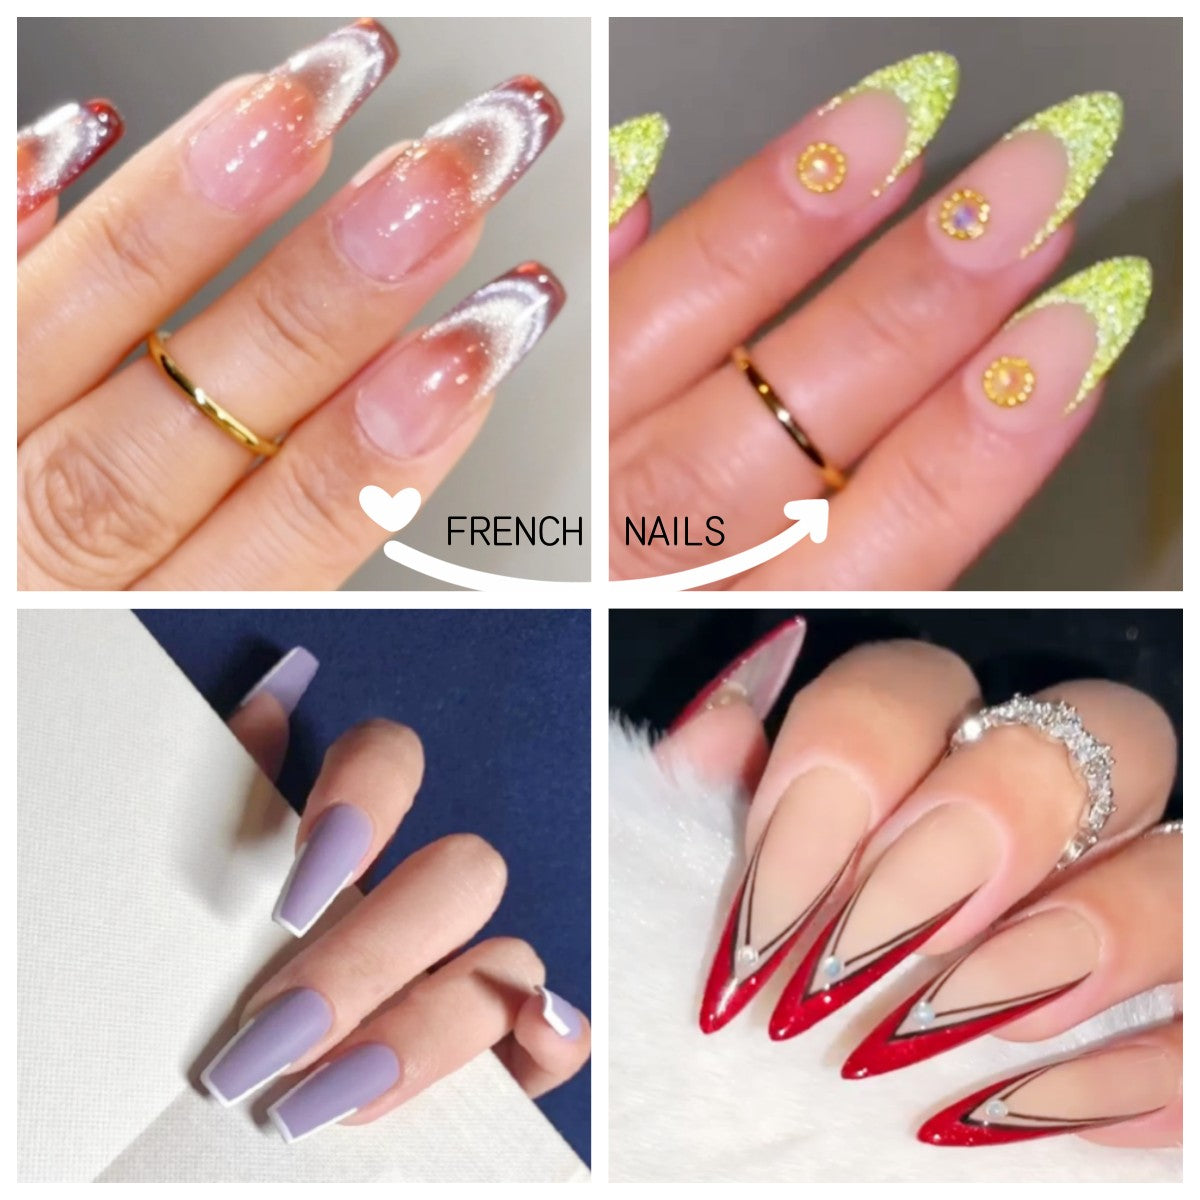
Gel nail extensions, also known as gel coverings, include applying a thick layer of transparent gel on your natural nails or nail extenders. These requirements make it necessary to use LED or UV light exposure for effective acquisition to form a strong extend. Gel nails can be applied to the tip of artificial nail extensions, or directly applied to natural nail beds to enhance nails and naturally promote the long-term growth of nails. The difference from acrylic resins is that they can be formed without mixing.
Owing to they are very lightweight, they cause the least discomfort, which will prevent your nails from having to bear too much weight. What’s more, You also don’t have to worry about the gel expansion preventing you from performing daily tasks, because the gel head is very strong, which allows you to work normally without worrying about your nails popping or lifting. Unlike other nail extension solutions, the reason why gel extenders are excellent is that they are not only long-lasting and durable, but do not require any harsh chemicals. You will find that gel nail extensions will not cause any damage to your natural nails, but they can actually protect your natural nails and help them grow. When removing gel nail extensions, you will be pleasantly surprised that your natural nails will be longer and stronger. The fact that cannot be ignored is that when you get the acrylic tip, the removal process involves tedious work such as drilling, soaking and filing. Conversely, when using gel extension, simply immerse the nail in acetone, which will dissolve the tip of the gel and easily remove it. In contrast, gel nails are healthier and more practical than acrylic nails, and can be removed even faster without damage. For these reasons, they will cost a few dollars more than ordinary acrylic nail extensions. What's more worth mentioning is that gel nail extensions look more natural, and due to their flexibility, it is not only easy to fix, but also resistant to chipping. However they still do have some negative aspects, gel nail extension only lasts about half a month and removing gel nails involves soaking your nails in acetone and buffing off the polish, which can make your nails weak and dry.
Since the gel nail extender needs ultraviolet light to be fixed, if you have conditions such as UV light, you can simply try to get gel nail extension at home through the gel nail extension kit.
Step 1:As with all other nail making steps, above all, you need to push the cuticle back, use cuticle forceps to remove dead cuticles from the edges and use sandpaper to polish the nails. Completing this step will create a more attractive nail bed and will also help the nails look longer.
Step 2:After that, you'd better observe each finger and find the nail tip that best matches the shape and width of your nails to ensure that the selected tip fits your nails naturally.
Step 3:To clean the surface of your nails, apply a layer of acetone on the nails to prevent oil or debris from affecting the adhesion of the gel nails. On the other hand, don't forget to wipe each nail surface with nail dehydrator to dry your nails.
Step 4: Wait for a few minutes and spread the primer liquid evenly, which will makes your nails sticky and makes the gel easier to adhere.
Step 5:Then apply a thin layer of extension gel on the nails while brushing the gel on the artificial tip, then put the tip on the natural nail, after curing for 20 seconds, put your hand on the UV/LED light for 90 seconds. What you can understand is that transparent gel products can fill in any gaps, so that gel nails have a stronger extension that similar to acrylic.
Step 6:Next you will comfort with the most important step——curing your extended nails. Pick up an appropriate amount of gel with a brush and set it on the center of the nail, extend it along the free edge to the top in a small circular motion. And then change the direction down to cover the entire nail, making sure to leave a clear edge and epidermis around the side.
Step 7:The next step is to illuminate the nails with UV/LED lights to make all fingers will have a transparent gel base. The reason this is the most difficult part of artificial nail application is because if the method is not used properly, the nail may appear clumpy, too thick or curved.
Step 8:After the extension is complete, the nail should be polished and filed to the desired shape and length, but avoid applying too much pressure.
If you don't have the ability to do it yourself, we recommend that you resist the urge to stretch the gel by yourself until you can find a professional.


