Polygel is a gel product created as an alternative to hard gel and acrylic, which can be applied as an overlay or used to sculpt a full set of nails. Everyone knows that acrylics are rock-hard, but that also means that they're easily broken! Polygel is strong, but flexible, just like your real nails, so they give a little and aren't prone to damage. They also feel more natural, so they're way more comfortable.
PolyGel is an all-in-one formula to get salon quality nails right at home. The enhancement formula delivers strong, flexible, feather-light nails, which is great for people that like the look of acrylics but can’t stand the smell! There are no monomers, no mixing, and no ratios needed. The premixed formula only needs to be smoothed and guided into place with a brush moistened with slip solution.
Polygel is cured 60 seconds for nail LED lamp or 2 minutes for UV lamp, but it is a lot lighter than both gel and acrylic nails. In terms of removing Polygel nails, the polish is buffed off rather than soaked off. However, the remaining polish can be soaked after if needed. Polygel is available in a range of colours, but gel polish can also be applied over the top if you fancy something different.
How to Apply PolyGel
- Start with clean, oil free nails. Lightly buff the surface of nails.
- Apply a thin layer of base coat, and cure it under LED lamp (It is supposed to be sticky! No need for wipe)
- Select a suitable shape & size false nail tip for each nail.
- Squeeze the poly gel out of the tube and using the spatula end of the pen, slice off and roll into the false nail.
- Take the brush end of the pen and pat the poly gel into place for your desired length. *For better consistency, you can use the base coat gel to smooth it out!
- When finished, stick the false nail onto your real nail and gently press down. Cure under LED lamp.
- Lift a corner of the false nail tip to pop off and remove.
- Trim, shape, buff and polish your nails for the desired look.
- Finish off with top coat and cure under LED lamp.
Warm Tips
- Base coat can be used as slip solution, no need to prepare alcohol or nail cleanser. The base coat will make the poly gel adhere to natural nails for longer.
- Poly gel cures with LED lamps. We recommend curing with nail lamp for 2-3 mins, LED lamp for 60-90s. The time needed depends on the thickness of the gel.
- It is important to start with clean, oil free nails to avoid lifting. Clean your cuticles and file your nail surface completely!
- After finishing the nail extension gel nails, you can wipe with alcohol on the both sides of the nail, so that the sticky layer will be removed and the nails will be more smooth and shiny.
- It might be hard to squeeze out the gel at low temperatures. It's suggested that you seal the tube in an airtight and waterproof bag, put it in warm water at about 60℃ for 5-10 mins then take it out and use it as normal.
- You can mix with the different color nail extension gel to create a different color, or mix the nail extension gel with glitter, to create a bling bling nails art.
- We recommend filling your nails about every two weeks when the new cuticle area grows.
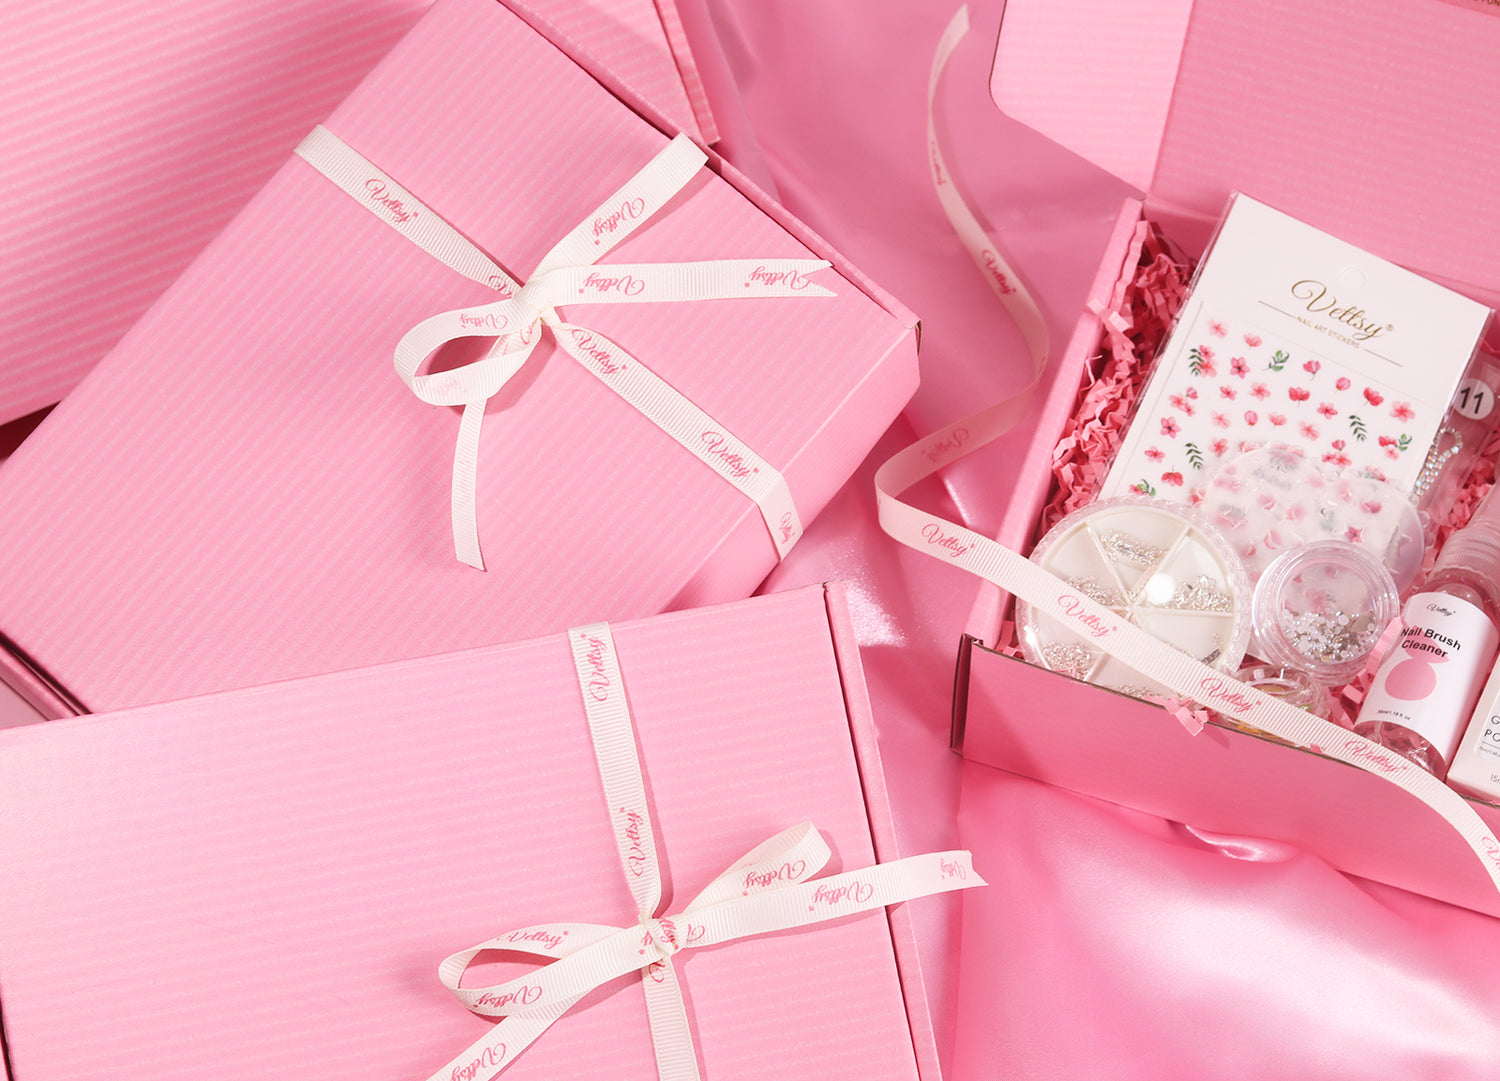
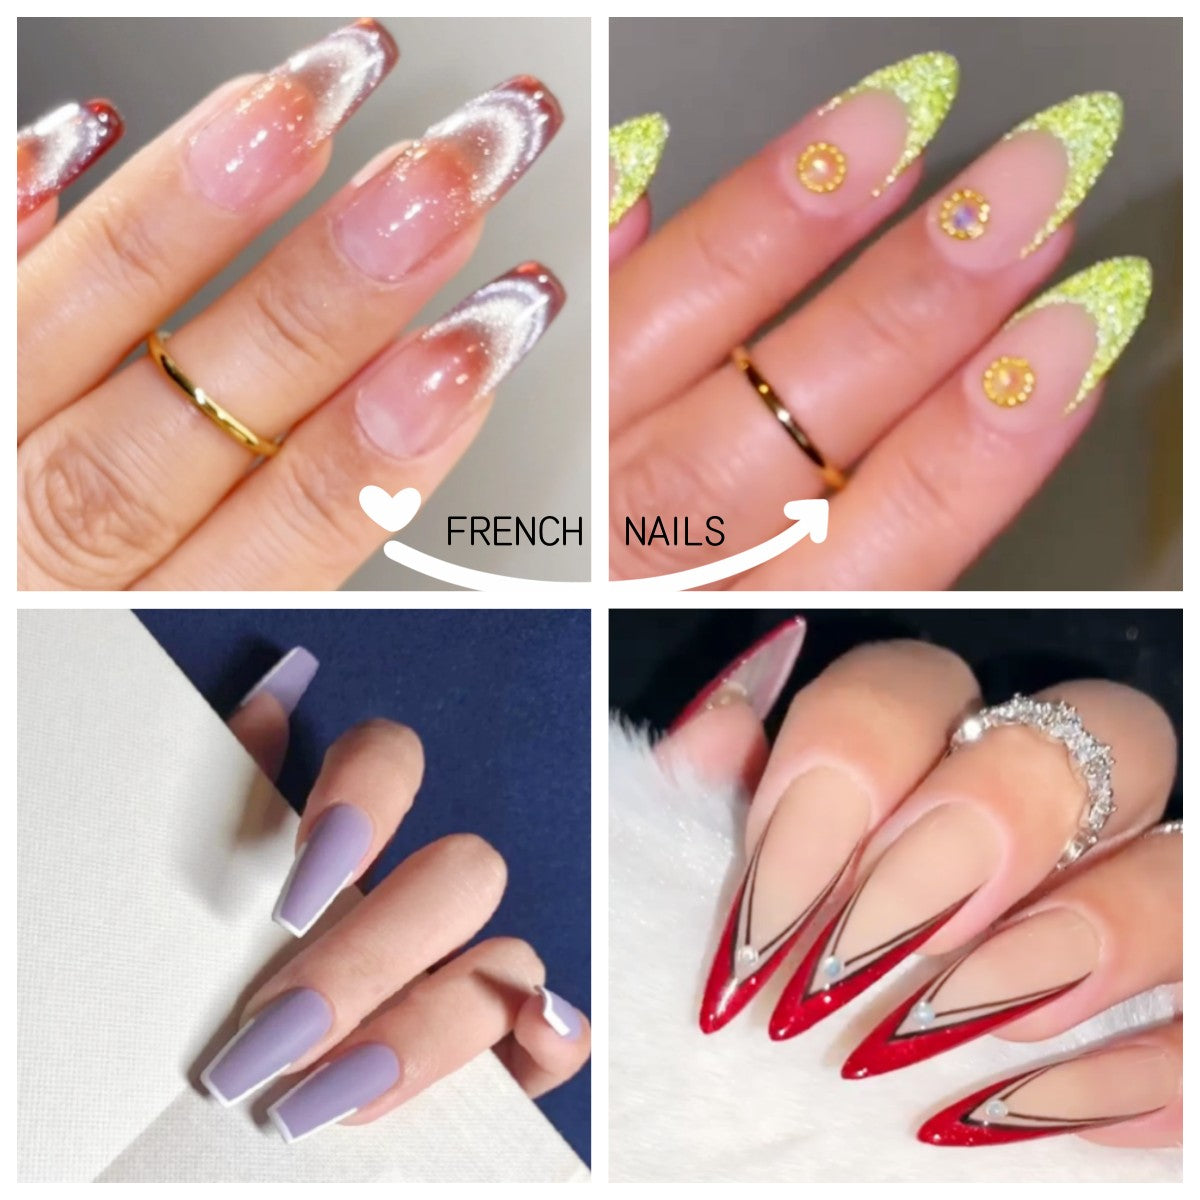
Here we have polygel nail kit for beginners, just save your time and money for nail salon, and you can create various simple or ornate and beautiful extension nails or other nail art design, like ombre nails, french nails, encapsulated nails, baby boom nails. Just bring your nail salon home.


